
In a recent blog post I described building a more powerful EL-wire driver based on the 555 timer. That was in service of a small art project which I finished last week:
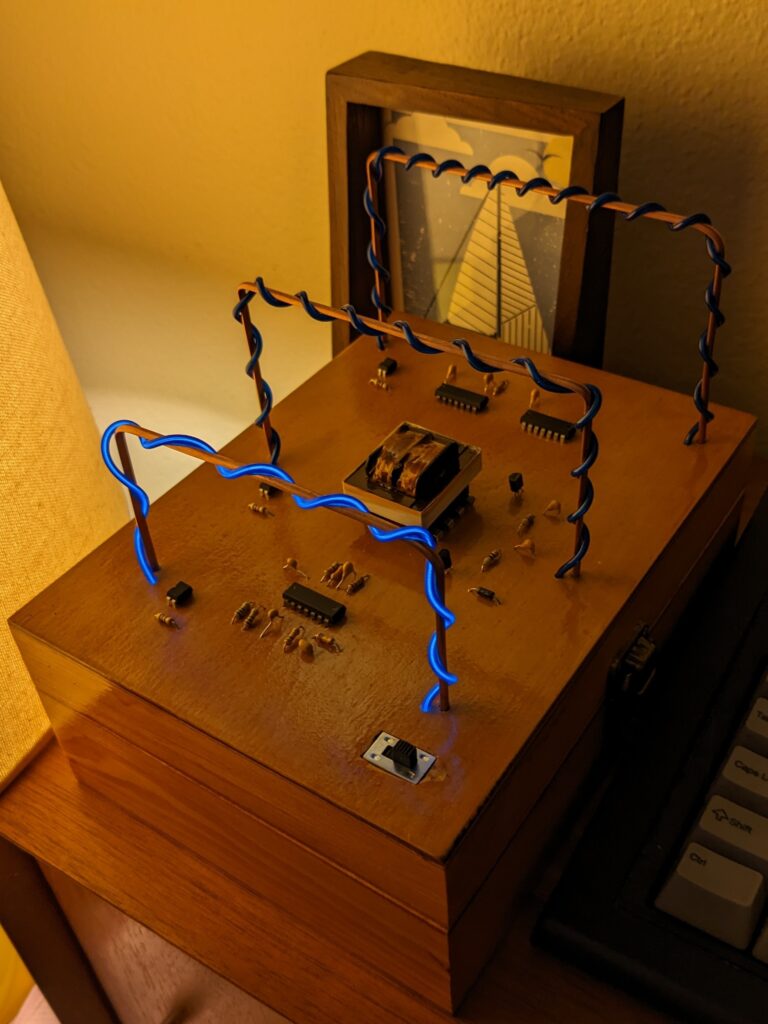
“Luminous Gates” is a set of three goalpost-shaped “gates” wrapped in electroluminescent wire, that light up in a cascading series. The gates are set in the top of a stained wooden box (which holds its battery pack inside). The circuitry for this art is mounted on top of the box as well, rather than hiding on a PCB or breadboard inside, making the electronic circuit itself an integral part of the art.
This was my first electronic project with no microcontroller or code whatsoever; the timing is “programmed” through the passive electronics (resistors and capacitors) connected to the integrated circuits, which create this steady illuminated progression:
Construction note
The wooden box was an unfinished pine “craft box” from Amazon. I stained and varnished it (using a 2-in-1 formula) and then mounted the electronics and lighting on the lid. To mount the electronics, I bought some PCB drill bits on Amazon (which came in a set ranging from 0.6mm to 1.6mm diameter) and drilled myriad individual holes. The pins on the ICs were a bit too short to reach all the way through, so I used a Dremel with the sanding attachment to thin down the lid in small strips under the IC pin areas. Connections were soldered between components with wiring underneath the lid. The gate structures are made of 8AWG copper wire, with the EL-wire wrapped around them and secured underneath the lid.
While I am really satisfied with the result, I have to say that the process took considerably longer than I anticipated; about 25 hours of tedious labor. I really don’t recommend this process unless you really, really want this visual effect.